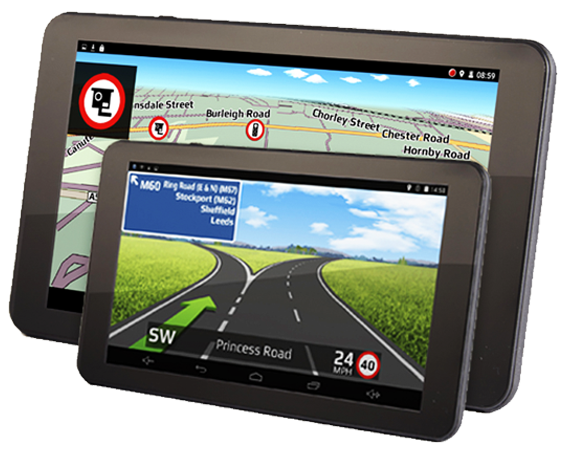
Follow the instructions below to add your own POIs to your Aguri nav.
1. First of all you need to make sure that your list of POIs is in a format that is compatible with your AGR700 series sat nav. Your POIs need to be in a .csv format Excel spreadsheet with the Longitude in column A, Latitude in column B, and the name of the POI in column C, as per the example below. As long as the data is entered in to the correct column as shown in the example below, you can add as many rows of data as you like. Please note that you will need software version 1.2.11 or later installed on your AGR700 to enable you to add your own POIs. Please refer to the user manual for instructions on how to update the software on your AGR700 if you are not familiar with the software update procedure.
2. Power on your AGR700 and when the main Menu appears on the display, connect it to your PC using the micro USB data cable provided with your device. Once connected to your PC, your AGR700 should display a new screen displaying the message ‘USB connected’ as per the screen shot below. Press the button ‘Turn on USB storage’ and then ‘OK’ when the next pop-up window is displayed asking for confirmation.
3. Your AGR700 should now be displayed as USB storage device on your PC. It will show up as an additional Drive such as ‘AGR700 (E:)’. Go to ‘File Explorer’ on your PC and you should see the new Drive displayed in the list on the left hand side as per the screen shot below.
4. Left click on the AGR700 Drive to display the folders that are stored on the internal memory of your unit. Next, double left click on the folder named ‘yourpoidb’ to open it and then either ‘copy and paste’ or ‘drag and drop’ your .csv POI file in to it.
5. Disconnect your AGR700 from your PC by pressing the button ‘Turn off USB storage’ on the AGR700 and then pressing the ‘Home’ button at the bottom, centre of the screen to return to the main Menu.
6. To check that your POIs have been added successfully, press ‘Navigate’ from the main Menu to launch the navigation software and once loaded tap on the centre of the screen to open the navigation menu. Press the ‘Your POI’ button and you should now see your new POI folder displayed. Tap on the folder to view its contents. You can search for a POI either by its name or calculate a route to a POI based on POIs around your current location or press and hold the location to change the address/location and search for POIs around a different location of your choice.
You can also download the instructions here
Aguri Motorhome sat navs & Caravan sat navs
Aguri Motorhome & Caravan RV520
Aguri Motorhome & Caravan RV720
Aguri Motorhome & Caravan RV720 Deluxe
Aguri Motorhome & Caravan RV750 Deluxe
Aguri Motorhome & Caravan RV7000M
Aguri Truck sat navs
Aguri Truck TX520
Aguri Truck TX650
Aguri Truck TX740 PRO
Aguri Truck TX750
Aguri Car sat navs
Aguri Car GT520
Aguri Car GT720
If you need further assistance with this process please call us on 0330 102 5578 and we will be happy to talk you through it in more detail.