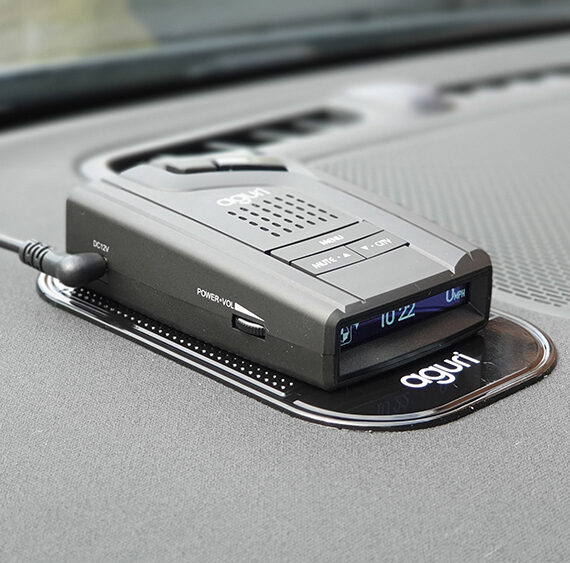
If you own an Aguri sat nav that runs on Android and are looking for clear instructions on how to update the navi software, you’re in the right place. Keeping your Aguri sat nav up to date ensures accurate GPS routing, improved navigation performance, and access to the latest features. In this guide, we’ll walk you through the entire update process—from downloading the latest Aguri navigation software to installing it on your device using an SD card.
1. Click here to download the latest version of the Aguri Navigation software
2. Locate the ‘Zipped’ folder you downloaded in the Download folder on your PC or laptop and transfer it to your desktop. You can do this by dragging it or copying and pasting it from the Download folder to the desktop. You may also find it useful to create a new folder on your desktop to transfer it to, so it can be easily located.
1. Use a program like 7-Zip which can be downloaded for free from www.7zip.org to unzip the file.
Click here for more help and advice on how to install and use 7Zip software to unzip a folder.
2. Inside the unzipped folder, you will find a file called:
naviw-release-v1.2.xxx.apk
(The “xxx” will vary depending on the version number)
1. Insert a Micro SD card into your computer.
2. Copy and paste the `naviw-release-v1.2.xxx.apk` file onto the root directory of the SD card – Do not place it inside any folders.
3. Do not try to open the file on your computer – it’s not meant to be opened on a PC.
1. Eject the SD card from your computer and insert it into your Aguri sat nav.
2. Power on the device.
3. From the main menu, tap on ‘Apps’.
4. Open ‘Files’.
5. Tap ‘SD card’ (you may need to scroll/swipe up or down to find it).
6. Locate the file: `naviw-release-v1.2.xxx.apk`
1. Tap the three vertical dots adjacent to ‘naviw-release-v1.2.xxx.apk’ on the right-hand side of the screen.
2. Select ‘Open with’ and then choose ‘Package Installer’.
3. A message may appear:
“Do you want to install an update to this built-in application?”
Tap ‘Install’ to continue.
If a message appears saying:
“Do you want Google to scan this app?”
Tap ‘More details’ and select ‘Install anyway’ or ‘Install without scanning’.
When prompted, tap ‘Open’ to launch the updated Aguri Navigation software.
If you have any problems following these steps, call the Aguri technical helpline on 0330 102 5578 for further assistance.