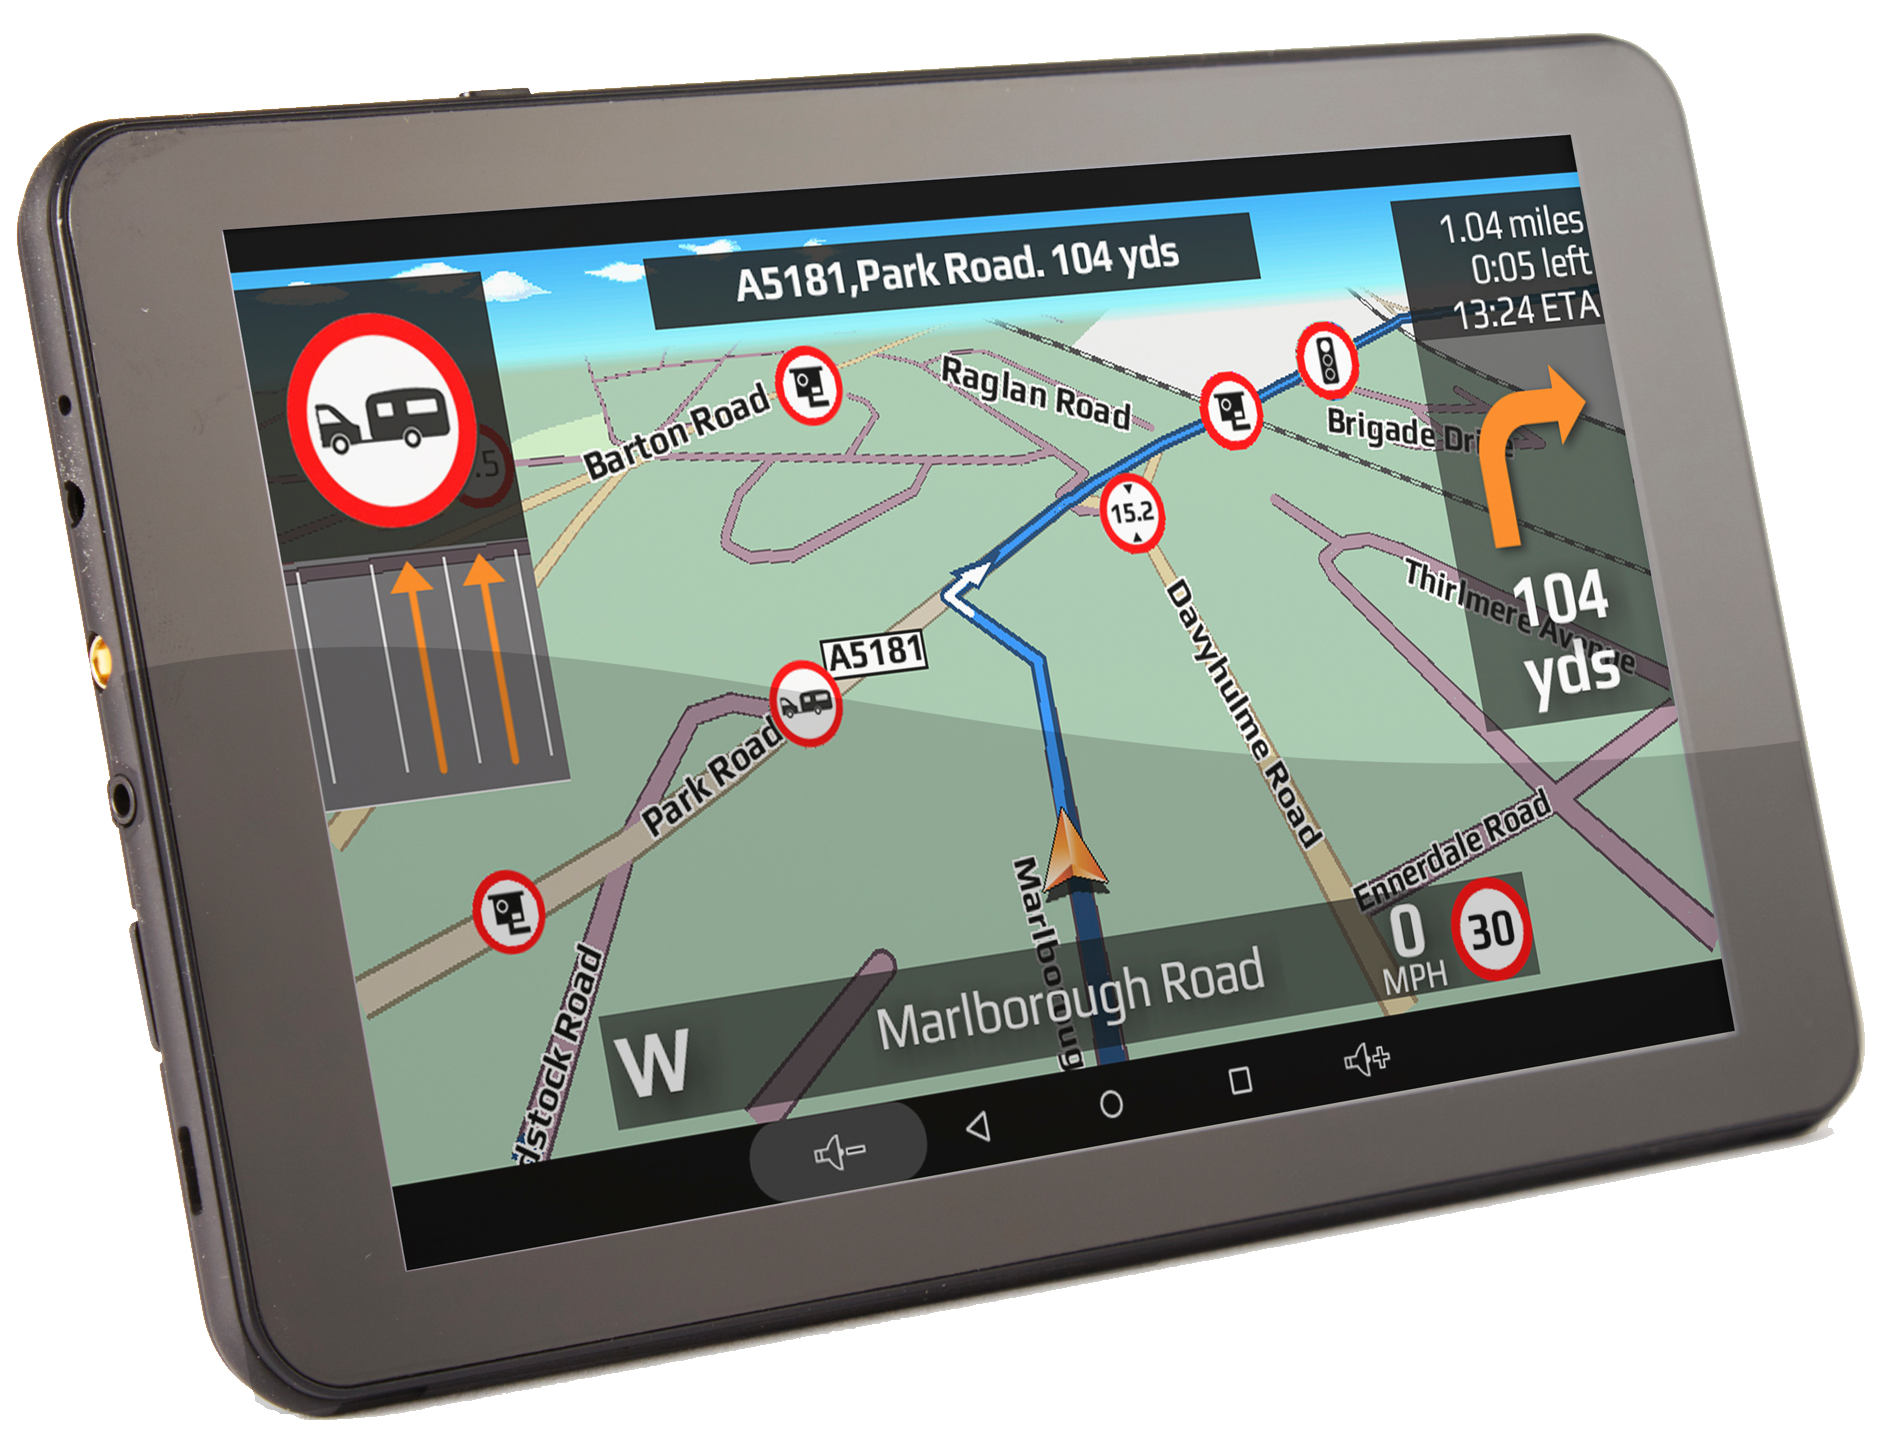
Follow the instructions below to update the maps on your Aguri Truck, Motorhome & Caravan, Coach & Bus or Aguri Car satellite navigation system.
Step 1. Connect your unit to Wi-Fi and set up the Aguri Gmail account on your device.
To update the mapping from the Google Play store, you will need to set up and/or enter the Aguri Gmail account and be connected to an internet enabled Wi-Fi connection. If you have already done this please go directly to Step 2.
From the main menu select ‘Settings’ then scroll down until you see ‘ACCOUNTS’ and press the “Add account” button. From the list displayed, select ‘Google’ and a new window will appear called ‘Add a Google Account’. Select “Existing” and add your Gmail account, followed by the password. (If you don’t already have a Gmail account, you can easily create one just for use on this device. Simple Google “Create Gmail account” and you’ll find numerous links with information how to do it)
Please note that your password is case sensitive so it must be entered exactly as you see it, using the appropriate capital and lower case letters, as well as any numbers and characters etc.
If you are not connected to an internet enabled Wi-Fi connection, the device will now ask you to connect to one. It will switch the Wi-Fi setting on and you will automatically see a list of available Wi-Fi connections in your vicinity. Select the Wi-Fi connection you want to use and enter the password.
Next, enter your Google Gmail account details and complete the set-up as per the instructions displayed on the screen.
Step 2. Update the Aguri Navigation App.
From the main menu, press the ‘Navigate’ button and launch the navigation software as normal. Once the navigation software is open, tap on the centre of the screen to open the navi menu and then swipe the screen from right to left until you see ‘Manage software’ and tap on it. Next, tap on ‘Software version’ and a message will be displayed asking ‘Check for software updates’ – Press ‘OK’ and the device will automatically open the Aguri Navigation App in the Google Play store. If an update is available, an ‘Update’ button will be visible. Please press the ‘Update’ button and your device will automatically update the Aguri Navigation App software. Once the update is complete you should be returned to the Main menu.
User note. If no update is available, tap ‘Open’ to return to the navigation software.
Step 3. Update the mapping.
From the main menu, press the ‘Navigate’ button and launch the navigation software as normal. Once the navigation software is open, tap on the centre of the screen to open the navi menu and then swipe the screen from right to left until you see ‘Manage software’ and tap on it. Next, tap on ‘Map version’. A message will be displayed asking ‘Check for new map?’ – press ‘OK’ to proceed. If an update is available, an orange information bar will be displayed advising what version of the map is already on your device and what the new version is. Press the orange bar to continue and a message will be displayed asking ‘Start downloading after restart’. Press ‘Restart’ and the device will display the message ‘Checking data server…’ It can take a few minutes for the device to check the data server, but after a short period of time, the device will begin to download and install the latest version of the map.
Please note that it could take between 30 – 60 minutes to update the maps depending on the speed of your internet connection. Please ensure that the device is fully charged and remains connected to power for the duration of this process.
Related products