How to Install the Aguri AGR760 Dash Cam – Complete User Instructions
AGR760 Dash Cam Installation Guide – Step-by-Step Instructions
Before starting the full installation of your Aguri AGR760 dash cam, please check it is functioning correctly.
1. Initial Setup
- Insert the microSD card into the slot located at the end of the dash cam.
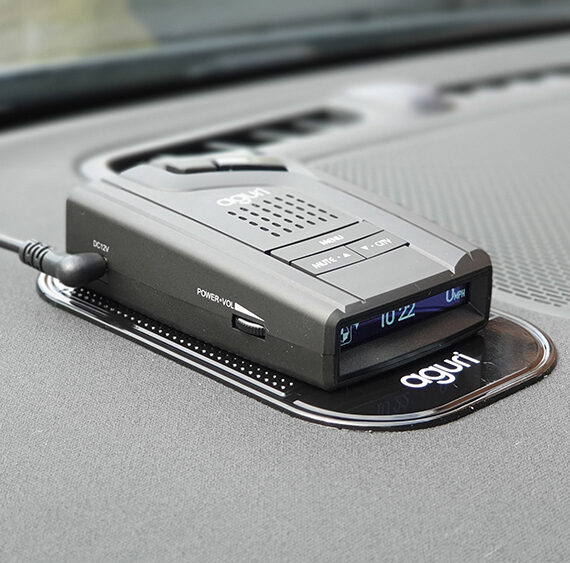
- Connect the AGR760 dash cam to your AGR760 sat nav using the USB cable provided.
Important: Power the dash cam from the USB port on the side of the AGR760 sat nav, not the bracket, to ensure correct operation.
2. Installing the HD Car DVR App
Your AGR760 sat nav may already include the necessary dash cam app. To check:
- Tap ‘Apps’ from the main menu.
- Look for ‘HD Car DVR’.
If already installed, skip to Step 10. If not, follow the steps below:
- Tap ‘Apps’ > ‘Files’ from the main menu.
- Scroll and select ‘EOWLRCDMARE-ASMC’, then tap ‘USE THIS FOLDER’.
- When prompted, allow access by selecting ‘ALLOW’.
- Locate ‘uCarDvr.apk’, tap the three dots next to it > Open with > Package installer.
- Tap ‘Install’ when prompted by the ‘HD Car DVR’ window.
- If Google warns you the app is unrecognised, tap ‘More details’ > ‘Install anyway’ (not the larger ‘OK’ button).
- Once installed, tap ‘Open’ to launch the app.
- A live view should appear showing the dash cam feed, with a red flashing dot indicating it’s recording.
Note: The AGR760 dash cam does not display GPS speed or coordinates.
3. Dash Cam Installation in Your Vehicle
Once confirmed working:
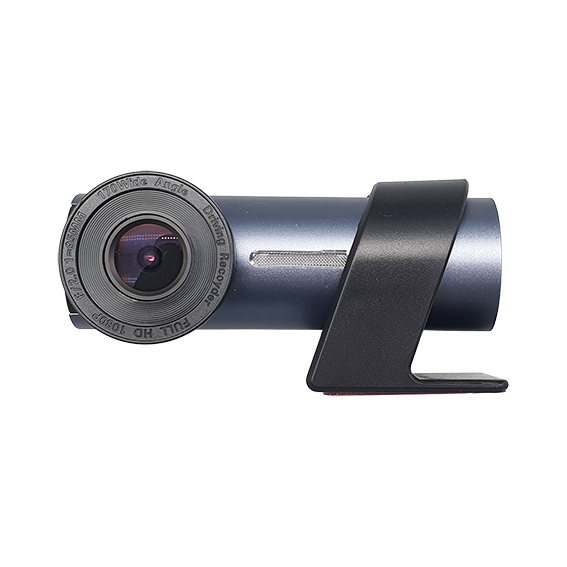
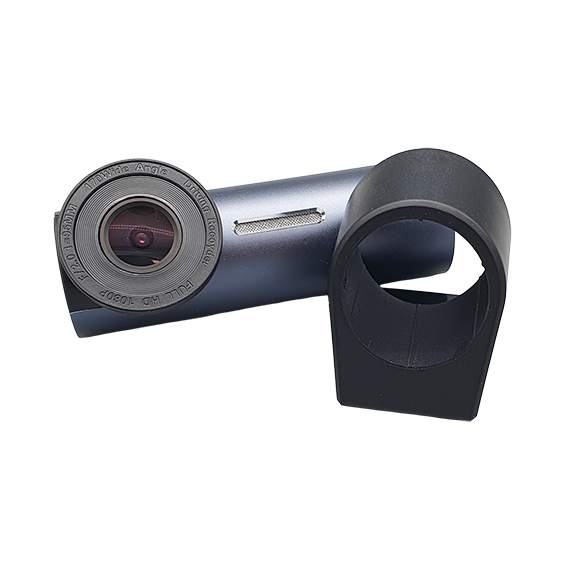
11. Use the 3m USB power cable to position the dash cam near your rear-view mirror.
12. Clean the windscreen area using a mild soap solution and dry thoroughly.
13. Peel the red backing tape and press the dash cam firmly to the glass.
14. Adjust the camera angle by rotating the barrel in the mounting bracket until it points directly at the road ahead.
Use the AGR760 screen to check the camera’s view.
User Note: The dash cam fits tightly into the mounting bracket using a friction-fit mechanism. You may need to use some force to rotate or adjust it—this is normal and ensures stability during driving.
4. Viewing Footage & App Controls
- The dash cam begins recording automatically when the AGR760 sat nav powers on.
- To check the video feed, go to ‘Apps’ > ‘HD Car DVR’.
If no image appears at first, restart the AGR760 to establish the connection.
5. Dash Cam Settings (Access via HD Car DVR App)
- Tap the centre of the screen to reveal the control panel:
- Microphone – Toggle audio recording on/off.
- Camera Icon – Take a still photo.
- Video Recorder – Start/stop video recording.
- Lock Icon – Lock a video clip to prevent it being overwritten.
- Playback – View saved videos and images on the SD card.
Quick Tip: Switch between navigation and dash cam apps anytime using the white square icon at the bottom of the screen and swipe between apps.
6. SD Card Maintenance & Best Practice
- Format your SD card every 2–3 months using a PC or Mac to prolong its lifespan.
- Dash cam SD cards wear out over time. Replace the card if it stops recording or overwriting properly.
Need More Help?
If you need additional support, contact our UK-based tech team on 0330 102 5578 or visit www.aguriworld.co.uk